
12 Steps to a Perfect DIY Board and Batten Wall
Looking for a way to add timeless character and architectural interest to a plain room? A board and batten wall is a stunning, high-impact feature that you can create yourself. This classic style of panelling adds texture, dimension, and a touch of custom elegance. This step-by-step guide will walk you through the process of creating a beautiful accent wall that looks professionally done and minimalist winter home decor.
1) Plan Your Design and Layout
Before you buy any materials, plan your design. Decide on the height of your accent wall—a common choice is about two-thirds of the way up the wall. Determine the style you want, such as a simple grid or traditional vertical battens. Measure your wall and sketch out a rough plan to visualise the final look and estimate your material needs as decluttering inspiration tips.

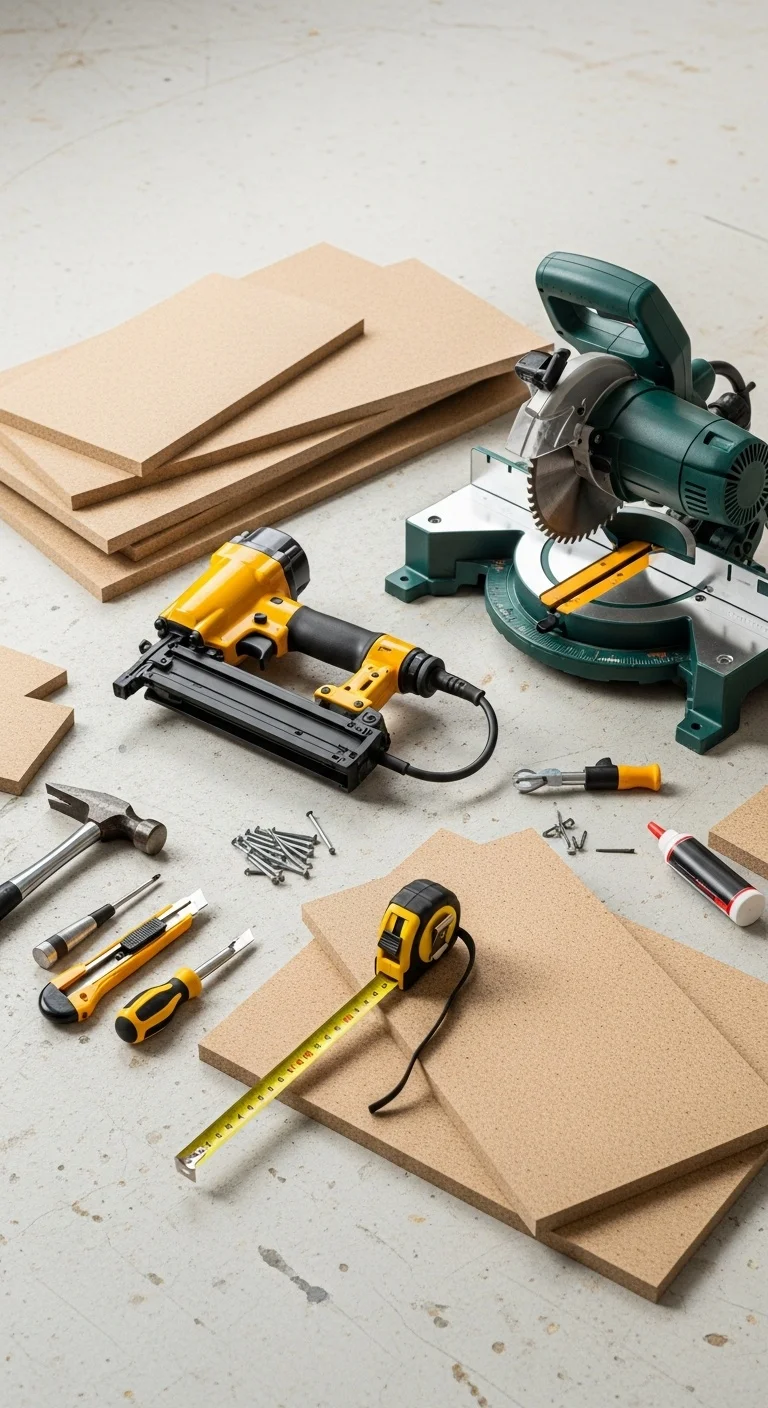
2) Gather Your Tools and Materials
For this project, you will need your boards (pre-primed MDF or pine boards are great choices), a measuring tape, a level, a nail gun with brad nails, construction adhesive, and a miter saw. For the finishing, you’ll need wood filler, caulk, sandpaper, primer, and your final paint color.

3) Measure and Mark Your Wall
Accuracy is key. Start by deciding on the height of your top horizontal board and use your level and a pencil to draw a straight, level line across the entire wall. This line will be your primary guide for installation. It’s also a good idea to locate and mark the studs in your wall for a more secure installation.

4) Install the Top Horizontal Board
Begin by installing the top horizontal board. Apply a bead of construction adhesive to the back of the board, place it on the wall just above your level line, and secure it to the wall by nailing it into the marked studs. This top piece will set the framework for the rest of your design.

5) Install the Baseboard
You have two options for the bottom board. You can either remove your existing baseboard and replace it with a new board that matches your battens, or you can place a new horizontal board directly on top of your existing baseboard. The second option is often easier and creates a nice, chunky look.

6) Calculate Vertical Batten Spacing
To achieve evenly spaced battens, you’ll need to do a little math. Measure the total length of your wall. Decide how many vertical battens you want. The formula is: (Wall Length – (Batten Width x Number of Battens)) / Number of Spaces. This will give you the precise distance to leave between each vertical board.

7) Cut Your Vertical Battens
Measure the distance between your top horizontal board and your baseboard at each spot where a batten will go. Even if you think the measurements are the same, it’s best to measure each one individually, as walls and floors are rarely perfectly level. Cut your vertical battens to these specific measurements using your mitre saw.

8) Attach the Vertical Battens
Starting from one end of the wall, use your calculation from step six to mark the placement for your first batten. Apply construction adhesive to the back of the batten, place it on the wall, check that it’s plumb (perfectly vertical) with your level, and then nail it into place. Repeat this process for all your vertical battens.

9) Fill Nail Holes and Gaps
This step is what gives your wall a professional, seamless finish. Use a small amount of wood filler or putty to fill every nail hole on your boards. If there are any small gaps between boards where they meet, you can fill those as well. Let the filler dry completely.

10) Caulk All the Seams
For a truly built-in look, apply a thin, smooth bead of paintable caulk along every seam where the boards meet the wall and where the boards meet each other. Use your finger or a caulk tool to smooth the bead, then wipe away any excess with a damp cloth. This step makes a huge difference in the final appearance.

11) Sand and Prime the Wall
Once the filler and caulk are dry, lightly sand the filled spots until they are smooth and flush with the wood. Then, prime the entire accent wall, including the new boards and the wall space between them. Priming ensures that your final paint color will have a uniform, even finish.

12) Paint Your Finished Wall
Now for the final transformation. Apply at least two coats of your chosen paint color to the entire board and batten wall. Painting the boards and the wall the same color and finish creates a cohesive, high-end look. Once the paint is dry, step back and admire your beautiful new feature wall.

Creating a board and batten wall is a rewarding DIY project that adds incredible value and character to your home. With careful planning and attention to detail, you can easily achieve a sophisticated, custom-built look that will elevate any room.