13 Steps to a Custom DIY Built-in Wardrobe
A built-in wardrobe is a dream for anyone craving a seamless, high-end look and maximum storage. While custom cabinetry can be incredibly expensive, you can achieve a similar result with a bit of planning and effort. This guide will walk you through the essential steps to create a beautiful DIY built-in wardrobe that looks professionally installed.
1) Plan Your Design and Layout
The first and most important step is planning. Measure your space carefully, noting the height, width, and depth of the area. Decide on the interior layout you need—how much hanging space, how many shelves, and whether you want drawers. Sketching out your plan will help you visualize the final product and create a precise materials list and winter wreaths.

2) Choose Your Base Cabinets
The secret to an easier DIY built-in is using pre-made cabinets as your base. Stock kitchen cabinets or, more commonly, a modular wardrobe system like the IKEA PAX are perfect for this. These systems provide the main structure and interior fittings, and your job is to make them look truly built-in winter gardening tips.

3) Gather Your Tools and Materials
A successful project requires the right tools. You will need a measuring tape, level, drill, nail gun, and a miter saw. Your primary materials will be your base cabinets, 2×4 lumber for the frame, and MDF or plywood panels and trim pieces to finish the exterior. Don’t forget screws, construction adhesive, wood filler, caulk, primer, and paint.

4) Prepare Your Space
Before you begin building, prepare the area. Clear out any existing furniture. If your design goes wall-to-wall, you will need to carefully remove the baseboards from the back and side walls where the wardrobe will sit. This will allow the unit to sit flush against the wall for a seamless look.

5) Build a Level Base Frame
Most floors are not perfectly level. To ensure your wardrobe is stable and straight, build a simple base frame on the floor using 2x4s. Use a level and shims to make this frame perfectly level. Your cabinets will sit on top of this frame, which also elevates them for a more professional, built-in appearance.

6) Secure the Base Cabinets
Assemble your base cabinets according to the manufacturer’s instructions. Place them on top of the level base frame you just built. Secure the cabinets to each other using screws, and then firmly attach the entire unit to the wall by screwing through the back of the cabinets into the wall studs.

7) Frame the Gaps
This is the key step that makes your wardrobe look built-in. Use 2x4s to build a frame that fills the gaps between the top of the cabinets and the ceiling, and between the sides of the cabinets and the walls. This creates a solid structure that fully encloses the unit.

8) Attach the Face Panels
Cover the 2×4 framing you just built with sheets of MDF or plywood. This creates a smooth, paintable surface that makes the separate cabinets and framing look like a single, cohesive unit. This is also where you’ll create the face frame that gives the wardrobe its custom look.

9) Install Interior Fittings and Doors
With the main structure complete, it’s time to customize the inside and add the doors. Install your closet rods, shelves, and any drawer units according to your original plan. Then, hang the cabinet doors. This is when the project really starts to look like a functional wardrobe.

10) Add Decorative Trim and Molding
Finishing trim is what elevates a DIY project to a professional level. Add crown molding at the top where the wardrobe meets the ceiling to create a seamless transition. You can also add a simple piece of trim along the sides where the unit meets the wall for a clean, finished edge.

11) Fill, Caulk, and Sand Everything
For a truly seamless, paint-ready surface, fill every nail hole with wood filler. Apply a thin, smooth bead of paintable caulk to all the seams—where boards meet, where trim meets the wall, and where the unit meets the ceiling. Once everything is dry, lightly sand the filled areas until they are perfectly smooth.

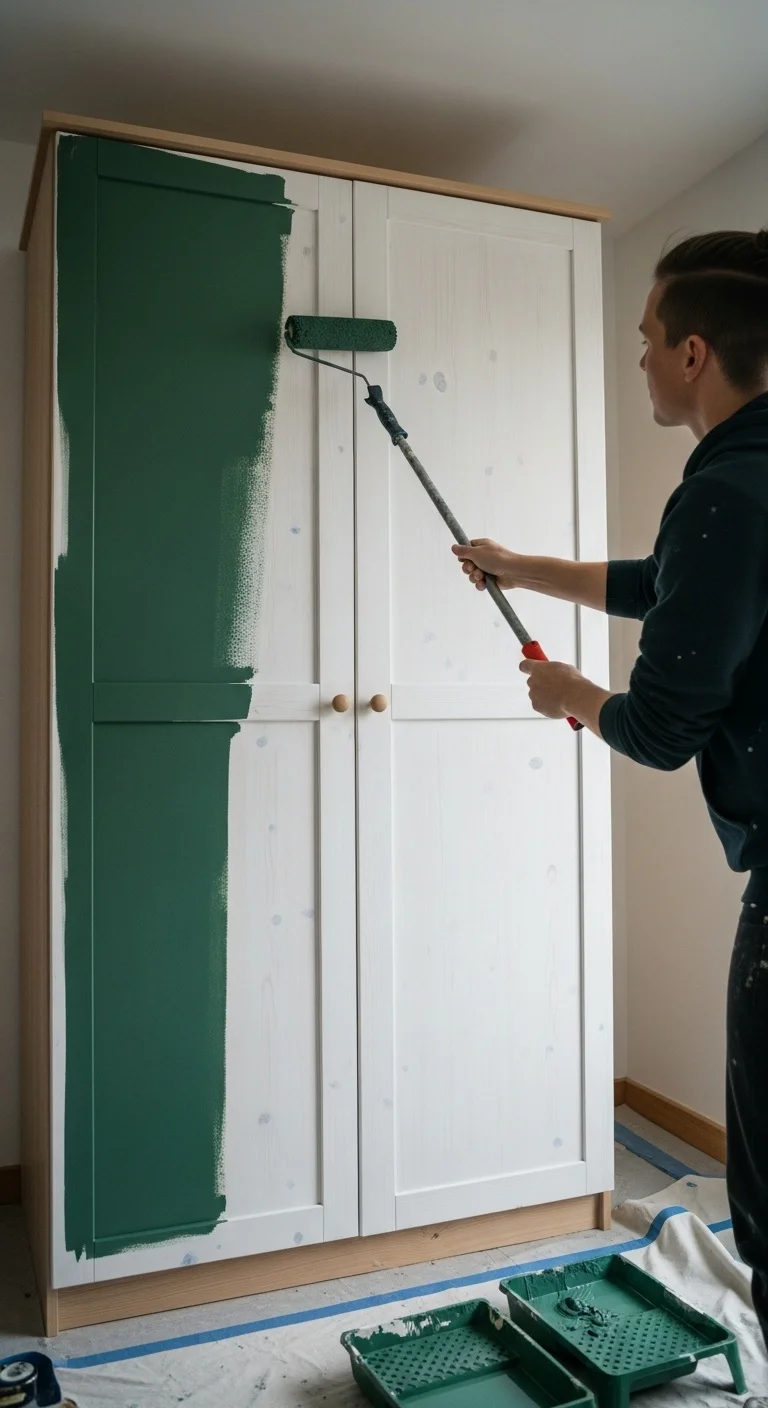
12) Prime and Paint
Now for the final transformation. Apply a coat of high-quality primer to all the new wood and MDF surfaces. Once the primer is dry, apply at least two coats of your chosen paint color. A durable cabinet or trim enamel in a satin or semi-gloss finish is an excellent choice. Painting everything one color unifies the entire piece.

13) Install Your Hardware
The final step is adding the jewellery. Install the handles or knobs on your wardrobe doors and any drawers. This is your chance to add a final touch of style, whether you choose sleek modern pulls or classic vintage-style knobs. Step back and admire your beautiful new custom wardrobe!

Creating a DIY built-in wardrobe is a challenging but incredibly rewarding project. By taking your time and focusing on the finishing details, you can build a stunning, high-end storage solution that maximises your space and adds significant value to your home.